Emergency Ascent Procedures in Scuba Diving: What to Know Before You Go
Introduction
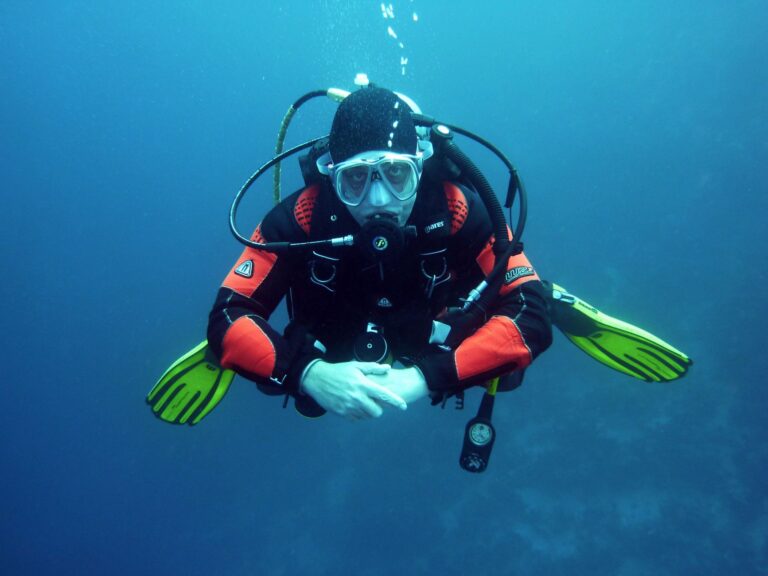
Few things in scuba diving test your training like a real out-of-air emergency. When your regulator stops delivering air or your BCD inflator sticks open, you donât have time to think. You need practiced emergency ascent procedures scuba training to kick in automatically. This article covers the techniques, gear, and mindset you need to handle these situations underwater. Itâs written for newer divers building their skills and experienced divers refreshing their knowledge. The goal is practical preparation, not fear-mongering. You can build confidence by understanding what can go wrong and what to do about it. Letâs get into the details of staying safe when things stop going according to plan.
[IMAGE_1]
Why Emergency Ascent Procedures Matter
The medical reality behind emergency ascents is straightforward: ascending too fast or holding your breath can cause serious injury. The primary risks are pulmonary barotrauma (lung overexpansion injury), arterial gas embolism (AGE), and decompression sickness (DCS). As you ascend, the compressed air in your lungs expands. If you donât exhale continuously, that expanding air can rupture lung tissue and force gas bubbles into your arterial circulation. An AGE can cause stroke-like symptoms within minutes of surfacing. DCS occurs when dissolved nitrogen comes out of solution too quickly, forming bubbles in your tissues and bloodstream.
These risks exist regardless of your experience level. What separates a safe ascent from an injury is training and practice. Emergency ascent procedures scuba training teaches you the physical techniques and the mental discipline to keep your airway open and control your rate of ascent. Panic is the biggest threat because it leads to holding your breath, dropping weights prematurely, or abandoning your buddy. Proper training reduces that panic by giving you a clear sequence of actions. You donât need to become a medical expert. You just need to know the procedures and practice them until they become automatic.
The Controlled Emergency Swimming Ascent (CESA)
The Controlled Emergency Swimming Ascent, or CESA, is the primary self-rescue technique when you run out of air at a depth where a direct ascent to the surface is feasible. It works best at depths of 30 feet (9 meters) or less, though with good lung volume it can be done from deeper. Hereâs the step-by-step sequence:
- Signal your buddy with the âout of airâ hand signal across your throat.
- Establish positive buoyancy by ditching your weights or inflating your BCD. If you have time, dump your weights. If youâre shallow and close to the surface, inflating your BCD may be faster.
- Maintain a continuous open airway. This means making a humming or âahhhâ sound as you ascend. The goal is to keep your airway open so expanding air can escape. Do not hold your breath under any circumstances.
- Ascend at a safe rate. In a CESA, you aim to ascend no faster than your smallest bubbles. This is slower than most people think. If you see your bubbles streaming past you, youâre going too fast.
- Exhale continuously throughout the ascent. Some divers hold a small amount of air in their lungs and let it trickle out. That works, but the key is continuous exhalation.
CESA is appropriate when you have no alternate air source, your buddy is too far away to share air, and youâre within a short distance of the surface. Itâs not for deep emergency ascents or when you have any option to breathe. Common mistakes include holding your breath from panic, ascending too fast because you donât monitor your ascent rate, and not ditching weights before starting to swim up. If you havenât practiced CESA in a pool or confined water, do it with an instructor before you need it for real.
Buddy Breathing and Alternate Air Source Ascents
Sharing air with your buddy is often a better option than a CESA, provided you have enough time and a calm partner. The standard technique uses an octopus or alternate air source. The steps are straightforward:
- Signal your buddy with the âout of airâ sign.
- Your buddy deploys their octopus and hands it to you. Donât grab for it. Let them bring it to you.
- Establish a breathing pattern. Inhale from the octopus, then signal that youâre OK.
- Begin your ascent at a controlled rate of 30 feet per minute (9 meters per minute). Your buddy should control the ascent rate since they have air.
- Maintain contact throughout the ascent. Hold onto your buddyâs arm or BCD strap so you stay together.
The big tradeoff here is the additional breathing resistance from two divers sharing one tank. Your buddyâs air consumption will roughly double. That means you both need to ascend efficiently and not linger at depth. The alternative is a solo CESA, which carries its own risks. In practice, buddy breathing works well when both divers are calm and practiced. If your buddy panics, you may need to switch to a CESA to avoid injury.
Pre-dive buddy checks are essential here. Make sure your octopus is accessible and that your buddy knows where it is. A long hose (40 inches or more) makes sharing easier because it keeps you both in a comfortable position. Short hoses force you to crowd each other, which increases the risk of mask displacement or entanglement. Divers upgrading their gear may want to look for long hose octopus regulators that improve teamwork during an air-sharing ascent.
Buoyant Emergency Ascents: What Goes Wrong
Uncontrolled buoyant ascents account for many dive injuries. The typical causes are a sticking BCD inflator, a weight system failure, or panic-induced inflation. The moment you realize youâre ascending faster than planned, your brain wants to hold your breath. Thatâs the worst thing you can do. Hereâs what to do instead:
- First, ditch your weights if you are already positively buoyant and ascending faster than your bubbles. This is counterintuitive because dropping weights makes you more buoyant. But if your BCD is stuck inflating, you need to stop the ascent first by dumping air. If you canât dump air, ditching weights wonât help. Instead, you need to ditch the BCD itself or pull the dump valve manually.
- Assume a vertical position to reduce your profile and slow the ascent slightly. Spread your arms and legs wide to increase drag.
- Keep your airway open and exhale continuously. Do not hold your breath even if youâre panicking.
- If youâre ascending because your weights fell off, the same principles apply. Control your buoyancy with your BCD dump valves and fin as necessary to slow down.
The tradeoff of ditching weights is that you become positively buoyant, which can be dangerous if you surface in rough water or need to descend again. Good judgment matters here. If youâre at 10 feet and ascending rapidly, ditching weights might be the right call. If youâre at 50 feet, you have more time to work with your BCD. Dropping weights is a last resort, not a first reaction.
Decompression Stop Obligations During an Emergency Ascent
This is one of the most difficult decisions in an emergency. If you have a planned decompression stop and you run out of air, you face a medical decision that has no perfect answer. The priority is survival. Missing a decompression stop is safer than a rapid, uncontrolled ascent. Hereâs how to think about it:
- If you have air and can safely stop at your required depth, do it. Even a shortened stop is better than none. Slow your ascent to the maximum safe rate.
- If you are completely out of air, you cannot safely stay at depth. Ascend to the surface at a controlled rate, even if that means skipping your stop. The risk of injury from a rapid ascent is greater than the risk from a missed stop, provided you surface safely.
- If you are sharing air with a buddy, you may have enough air for a brief stop. Communicate with your buddy and decide together.
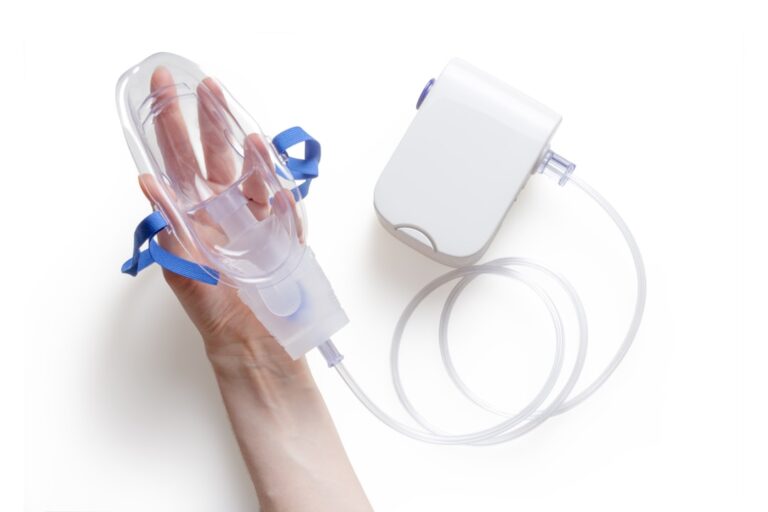
After any emergency ascent where a deco stop was missed, monitor yourself for symptoms of DCS or AGE. Do not re-dive. Seek hyperbaric oxygen evaluation even if you feel fine. Symptoms can take hours to appear. Your dive computer may show the lost stop, but thatâs secondary to your medical condition. If you have access to emergency oxygen on the boat or shore, use it as a precaution. Many dive shops rent oxygen kits, and some liveaboards carry them. Itâs worth asking about before your trip.
[IMAGE_2]
Gear That Can Save You During an Ascent Emergency
The right gear doesnât prevent all emergencies, but it gives you more options. Here are the pieces worth considering:
- Redundant air source (pony bottle or Spare Air). A small, independent tank of 3 to 6 cubic feet gives you enough air to make a controlled ascent from moderate depths. Itâs not for extended deco stops, but it buys you time. Pony bottles on Amazon vary in size and mounting options. Look for one that fits your rig.
- Octopus with a long hose. A 40-inch or longer hose lets you share air without crowding your buddy. It also makes the octopus easier to reach. Long hose octopus regulators on Amazon are worth the upgrade.
- BCD with backup inflation. Some BCDs have a manual inflator or allow connection to a dry suit inflator. Others have a separate small tank for buoyancy control. The more ways you can inflate or deflate, the better.
- Dive computer with ascent rate alarm. A loud audio alarm that goes off when you exceed 30 feet per minute is a lifesaver. Dive computers with ascent alarms on Amazon range from basic to advanced. Get one you can hear through your hood.
- Surface marker buoy (SMB). Deploying a delayed SMB from depth signals your position to boats and helps you control your ascent rate. Practice deploying it on a safety stop. Delayed SMBs on Amazon come in various sizes. A 6-foot model is versatile.
None of this gear replaces training, but it gives you redundancy. Spend money on the pieces that solve real problems: air supply, buoyancy control, and communication.
Common Mistakes Divers Make During Ascent Emergencies
Knowing what goes wrong helps you avoid it. Here are the most frequent errors I see in accident reports and during training:
- Holding your breath. This is the number one cause of lung overexpansion injuries. When you panic, your instinct is to clench your jaw and hold your breath. The corrective action is to practice making a continuous humming sound during every ascent, even on routine dives. Make it a habit.
- Failing to establish buoyancy before ascending. If youâre out of air, ditching your weights or inflating your BCD before you start swimming up helps control your ascent. Many divers skip this step because theyâre focused on getting to the surface. Stick to the sequence: signal, buoyancy, airway, ascend.
- Not signaling or checking on your buddy. Your buddy has air, but they need to know you donât. Skipping the signal means they wonât know to deploy an octopus or assist. Always signal before you act.
- Dropping weights immediately without assessing depth. If youâre at 60 feet and drop your weights, you become extremely buoyant and may rocket to the surface. Ditch weights only if you are already positively buoyant and need to slow down, or if you need to swim up and canât reach your BCD inflator.
- Not practicing CESA in a controlled setting. Reading about CESA is not the same as doing it. If youâve never practiced a CESA from 15 feet in a pool, you will likely fumble the sequence. Book a session with an instructor and practice every 20 dives.
These mistakes are avoidable with preparation. The key is to recognize that panic narrows your focus. Drills and muscle memory are what keep you safe.
Post-Ascent Protocol: What to Do After an Emergency Surface
Once you reach the surface, the emergency isnât over. Your actions in the next few minutes matter. Hereâs what to do:
- Establish positive buoyancy. Inflate your BCD fully or drop your weights if you havenât already. Do not float on your back with your head underwater.
- Signal for help if needed. Use a whistle, air horn, or wave your arm. If you have an SMB, deploy it now.
- Assess yourself and your buddy. Ask: Are you breathing normally? Do you have chest pain, numbness, confusion, or difficulty breathing? Check your buddy for the same symptoms.
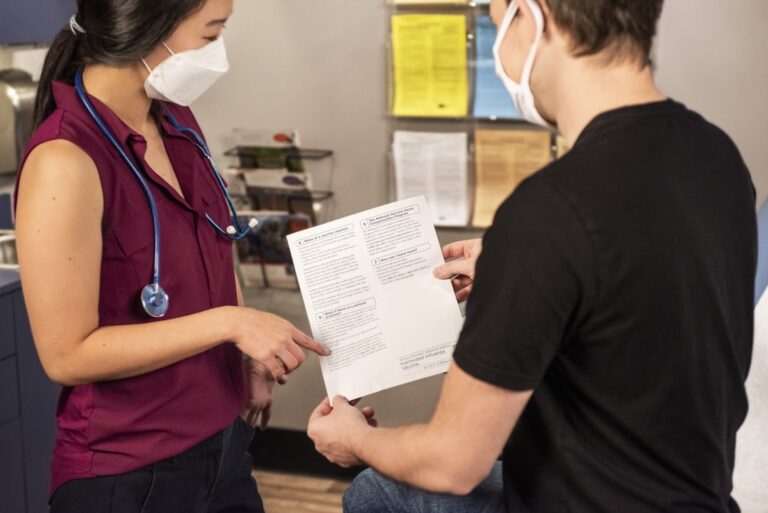
- Call for emergency medical support. If either of you has any symptoms, get to a hyperbaric chamber as soon as possible. Even if you feel fine, itâs wise to be evaluated. Some symptoms, like subtle confusion or joint pain, can be easy to dismiss.
- Do not re-dive. Even if your computer shows no deco obligation, any emergency ascent increases your risk. Wait at least 24 hours and ideally longer.
Oxygen is the best first aid for dive injuries. Many dive boats and resorts have oxygen kits on board. If youâre diving from shore, consider renting a portable oxygen kit for the trip. Itâs not expensive and it gives you peace of mind.
[IMAGE_3]
Training and Drills: Practice Before You Need It
Training is where theory becomes skill. Here are specific drills you should practice with a qualified instructor or experienced dive buddy:
- CESA from 10 to 15 meters. Start shallow and work deeper as your confidence grows. Focus on maintaining a continuous open airway and a slow, controlled ascent rate. Have your buddy film you so you can review your technique.
- Buddy breathing drills. Practice sharing air with your buddy using an octopus or by passing a single regulator back and forth. Do this in a pool or shallow water first. The goal is to make the process smooth and calm.
- Weight ditching practice. In shallow water, simulate a stuck BCD inflator by ditching your weights while maintaining a slow ascent. Your buddy should be nearby to assist if needed.
- SMB deployment. Practice deploying a delayed SMB from a safety stop. This teaches you to manage buoyancy and line handling under pressure.
Courses like PADIâs Emergency First Response or Rescue Diver are excellent for building these skills. If you havenât taken a rescue course, consider it. Even experienced divers benefit from a refresher every 10 to 20 dives. The muscle memory fades faster than you think. If youâre uncomfortable practicing with a buddy, book a session with an instructor. One or two pool sessions can make a real difference.
When to Skip the Ascent and Signal for Help
Not every emergency requires an ascent. Sometimes the smartest move is to stay at depth and signal for assistance from a dive master or surface support. This applies when:
- Your buddy has run out of air but is calm. In this case, sharing air and ascending together works well. But if your buddy is panicking and refusing the octopus, you may need to ascend yourself and signal for help from the surface. Do not put yourself in danger trying to force a panicked diver to breathe from a device.
- You have a minor equipment issue like a cracked mask strap or a fin buckle. These donât require an ascent. Signal to your buddy or the dive master and either fix it or end the dive normally.
- You are at a safety stop depth (15 feet) and have a low air situation. If you have enough air for a few minutes, stay at the stop and signal to the boat crew. They can send down a cylinder or assist you when you surface.
Situational awareness is key. If the problem is serious (no air, stuck inflator, or a panicked buddy), ascending may be the only option. But if you have time and support available, staying at depth is often safer. Always carry a signaling device like a whistle, mirror, or air horn. They weigh nothing and can save your life.
Final Thoughts: Building a Safety-First Mindset
Emergency ascents are rare, but when they happen, your training is all you have. The most important thing you can do is practice the procedures until they become automatic. Know your gear, check your buddyâs equipment before every dive, and never skip the pre-dive safety check. A calm, prepared diver handles emergencies better than a panicked one. If youâre planning a dive trip and want to ensure your medical readiness, check in with a travel clinic for a pre-departure assessment. Your safety depends on preparation, not luck. Stay calm, keep your airway open, and trust your training.