Altitude Diving Safety Tips: A Practical Guide for Mountain Lakes and High-Elevation Trips
Introduction
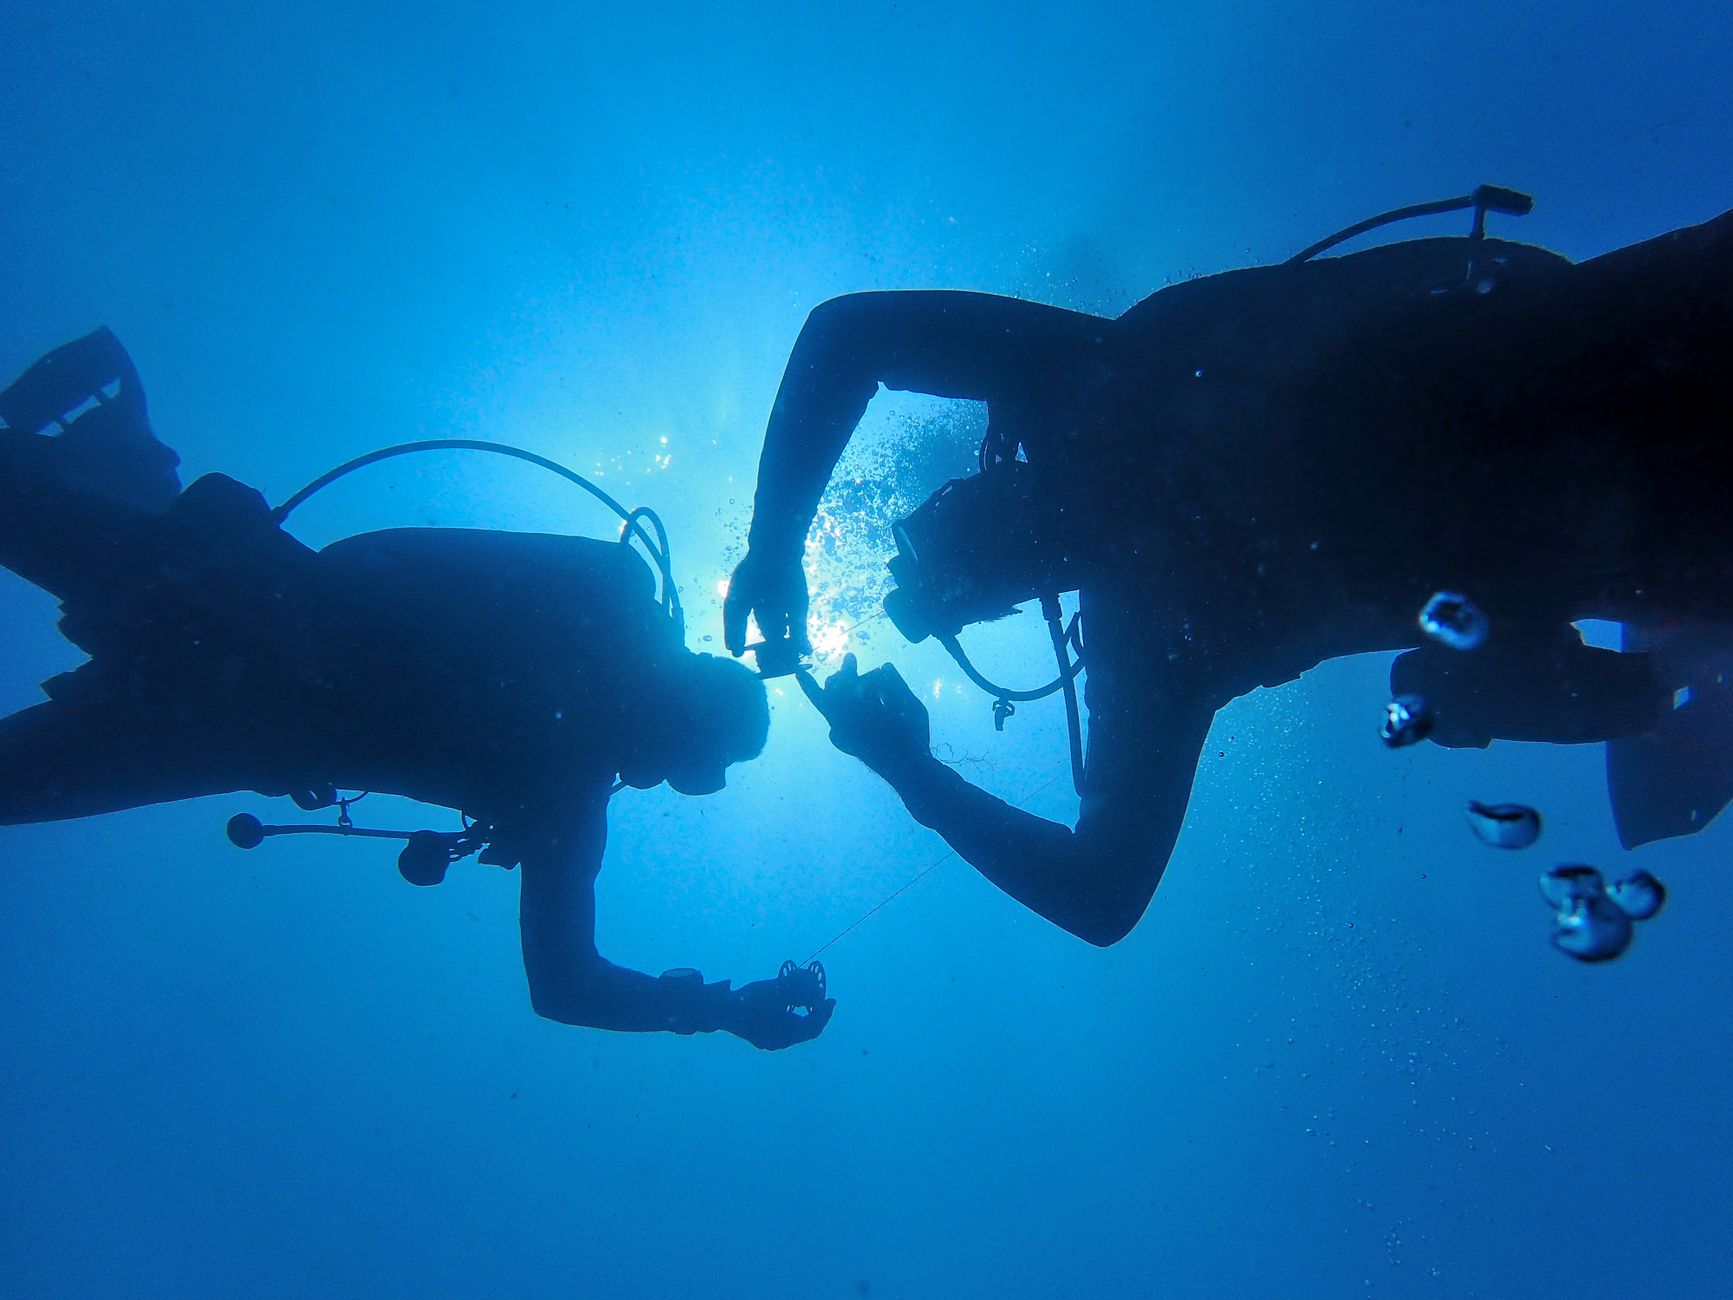
Most dive training happens at sea level. Your open water certification, the dive tables you studied, and the algorithms in your dive computer all assume one thing: you are diving at or near sea level. That assumption falls apart the moment you gear up at a mountain lake above 300 meters (1,000 feet). Altitude diving isn’t just a change of scenery. It changes the physics of decompression, and ignoring that change is one of the fastest ways to put yourself at risk.
This article covers practical altitude diving safety tips for divers planning high-elevation trips. We will focus on risk management, planning, and equipment adjustments. There is a lot of misinformation out there, and many divers assume their standard training transfers directly. It does not. This guide is designed to help you plan a safe dive, understand why standard tables fail, and make smart decisions before you travel. Let’s start with the core issue every altitude diver needs to understand.
[IMAGE_1]
Why Altitude Diving Changes the Decompression Rules
At sea level, the atmosphere exerts approximately 14.7 psi of pressure. At 3,000 meters (about 10,000 feet), that pressure drops to roughly 10 psi. That one-third reduction in ambient pressure has a direct effect on how your body handles nitrogen.
When you descend at sea level, the pressure increase is predictable. Your dive tables and computer calculate no-decompression limits based on that specific pressure gradient. At altitude, the ambient pressure is lower when you start, so the relative pressure change per meter of depth is larger. A dive to 20 meters in a mountain lake at 3,000 meters is physiologically more demanding than the same depth at sea level. Your tissues absorb nitrogen faster relative to that lower starting pressure.
This introduces the concept of theoretical depth. To use standard dive tables at altitude, you need to calculate an equivalent depth that accounts for the reduced surface pressure. Many divers assume their no-decompression limits are the same as at sea level. They are not. Your limits will be shorter. Some dive computers adjust automatically if set to altitude mode; many do not. The mistake of using a standard computer without altitude correction is one I see repeatedly in accident reports.
The bottom line is simple: altitude diving requires a different approach to decompression theory. Plan accordingly, or do not dive.
Altitude Diving Safety Tips: Before You Plan Your Dive
Before you book a trip to a high-elevation lake, there are several practical steps to take. They are not optional â they are the foundation of a safe dive.
- Consult a dive medicine specialist. This is not a general practitioner visit. You need someone familiar with the specific physiology of altitude diving. If you have any pre-existing conditions, including minor ones like mild asthma or PFO, altitude diving increases risk. A DAN-affiliated physician is a good starting point.
- Know the exact altitude of your dive site. Check topographic maps, park websites, or local dive operators. Do not assume a lake is at 2,000 meters because it felt high. Every meter matters when calculating corrections. A handheld GPS device or an altimeter watch can help confirm the elevation on site.
- Choose a dive computer with altitude mode. Many modern computers have this feature. Some do not. If yours lacks it, you will need to use altitude-corrected tables. We cover computer selection in the next section.
- Plan conservative gas management. At altitude, the safe maximum operating depth for air is lower. Consider using enriched air (nitrox) with a reduced oxygen percentage to manage nitrogen loads, but remember that oxygen toxicity limits also change at altitude. Work with someone who understands the math.
- Check emergency evacuation options. Remote mountain lakes may be hours from a recompression chamber. Know the nearest chamber location and have an evacuation plan. If you are diving with a group, confirm someone has emergency oxygen and knows how to use it.
These steps sound straightforward, yet many experienced divers skip them.
Choosing the Right Dive Computer for Altitude
Not all dive computers handle altitude correctly. Some simply lock the tissue loading algorithm to a sea-level assumption and give you false readings. Others adjust automatically based on measured surface pressure. The difference can determine whether you get bent.
Dive computers use different decompression algorithms. The two most common are Buhlmann ZHL-16 (and its variants) and RGBM (Reduced Gradient Bubble Model). Both can work at altitude, but only if the computer is programmed to adjust for ambient pressure. For Buhlmann-based computers, gradient factors (GF) need to be set conservatively for altitude diving. RGBM, used by brands like Suunto, is inherently more conservative and handles altitude reasonably well when set correctly.
Here are practical recommendations based on budget and experience level:
- Entry-level with altitude support: Suunto Zoop Novo or similar. These computers have automatic altitude adjustment up to 3,000 meters. They are not the most advanced, but they are reliable and simple. Good for recreational dives in mountain lakes.
- Mid-range with full control: Shearwater Peregrine. This uses Buhlmann with adjustable gradient factors. You can set a more conservative GF for altitude diving (e.g., 30/70 instead of 40/85). It also has a clear display and is easy to operate with thick gloves.
- Technical diving capable: Shearwater Perdix 2 or Teric. These are the standard for divers doing deeper or longer dives at altitude. They offer full algorithm control, multiple gas support, and reliable altitude correction.
Avoid older computers that lack altitude mode. If you are unsure, check the user manual or contact the manufacturer. A computer that does not adjust is a hazard at altitude. For divers who want a reliable option, browse dive computers with altitude mode here.
[IMAGE_2]
How to Adjust Your Dive Plan for a Mountain Lake
Let us walk through a practical example. Assume you are diving a lake at 3,000 meters (approximately 10,000 feet). The surface pressure is about 0.7 atmospheres. You plan to dive to a maximum depth of 20 meters.
First, calculate the theoretical depth. The formula is simple: add one atmosphere for every 10 meters of salt water. At sea level, 20 meters equals 3 atmospheres absolute (ATA). At altitude, the ambient pressure is 0.7 ATA. Your dive depth of 20 meters adds 2 ATA (for freshwater, use 10.3 meters per atmosphere, but for simplicity, we will stick with 10m/ATA). The total pressure is 0.7 + 2.0 = 2.7 ATA. To find the equivalent sea-level depth, divide total pressure by sea-level pressure (1 ATA) and convert back: 2.7 ATA corresponds to a depth of roughly 27 meters. That means your 20-meter dive is physiologically equivalent to a 27-meter dive at sea level.
Now, check the no-decompression limit for 27 meters on standard tables. It is around 20 minutes. But this is just the uncorrected starting point. At altitude, you should add further conservatism. I recommend adding at least 20% to your calculated risk, bringing the no-deco limit closer to 15 minutes for a 20-meter dive at 3,000 meters.
For shallow dives, the adjustment is less dramatic but still relevant. A 10-meter dive at 3,000 meters has a theoretical depth of about 13 meters. The no-deco limit is longer, but still shorter than at sea level.
Surface intervals at altitude are also critical. The reduced ambient pressure slows nitrogen off-gassing. A minimum surface interval of 2-3 hours is recommended for single recreational dives. For repetitive dives, extend that significantly.
Do not trust your computer alone if it lacks altitude mode. Use tables as a backup and always round up when in doubt.
Equipment Considerations: What Works at High Elevation
Cold water and reduced pressure affect gear performance. Here is what to watch for.
- Buoyancy compensator (BC) adjustments. The lower air density means your BC will require slightly more gas to achieve neutral buoyancy at depth. This is minor but noticeable. Practice your buoyancy control in shallow water first. Do not overinflate.
- Drysuit tuning. Many mountain lakes are cold even in summer, making a drysuit necessary. The lower atmospheric pressure means air inside your suit expands and contracts differently during ascent and descent. Be more deliberate with venting and inflation. Some divers run a slightly thicker undergarment to compensate for the cold.
- Cylinder fill pressures. Overfilling tanks at altitude is a common mistake. A cylinder filled to its rated pressure at a warm, low-elevation shop will read higher when you reach a cold, high lake. Do not exceed the cylinder’s service pressure. If you are filling on-site, ensure the compressor is rated for altitude use. Some compressors lose efficiency above 3,000 meters.
- Exposure protection. Water temperature in mountain lakes can drop to 4-10°C (39-50°F) even on warm days. A 7mm wetsuit or a well-fitted drysuit with appropriate undergarments is standard. For drysuit diving, consider a heated vest or better gloves. Hands and feet lose heat fastest. A quality pair of dry gloves for diving can help prevent numbness and poor dexterity during emergencies.
- Integrated weights. Avoid integrated weight systems that use buckles or clips that can freeze. A belt system is more reliable in sub-zero air temperatures. If you use integrated weights, check the release mechanisms after immersion.
Test your gear before the dive. Do not assume everything works the same as at sea level.
Common Mistakes Divers Make at Altitude
I have seen these errors repeatedly in dive accident reports. Avoid them.
- Ignoring specific altitude tables. Using sea-level tables without correction is a direct path to decompression sickness. It is the most common mistake and the most preventable.
- Driving or flying over mountain passes immediately after diving. Ascending to a higher altitude after a dive increases the pressure gradient and can trigger DCS. This includes driving over a pass that is higher than the lake where you dove. Wait at least 12-24 hours before gaining significant elevation.
- Diving deep without conservative measures. A 30-meter dive at altitude is extremely high risk. Even experienced technical divers limit deep altitude dives. Stay shallow. A max depth of 20-25 meters is a reasonable limit for most recreational altitude divers.
- Using a standard computer without altitude mode. If your computer does not have altitude mode, do not use it as your primary decompression tool. It will give you false information.
- Skipping surface intervals. The slower off-gassing at altitude means your body needs more time between dives. Treat surface intervals as mandatory, not optional.
Each of these mistakes has consequences. DCS at a remote mountain lake is a bad situation. Do not put yourself in that position.
Altitude Diving and the Risk of Decompression Sickness
Decompression sickness (DCS) is a more serious threat at altitude than at sea level. The reason is straightforward: reduced atmospheric pressure decreases the efficiency of nitrogen elimination.
At sea level, the body relies on a high pressure gradient to push dissolved nitrogen out of tissues and into the blood, where it is carried to the lungs and exhaled. At altitude, that gradient is smaller. Nitrogen comes out of solution more slowly. Bubbles that would normally be harmless at sea level can become symptomatic at altitude.
This phenomenon is sometimes called “silent bubbles.” In a typical sea-level dive, your body may produce small asymptomatic bubbles during ascent. At altitude, those same bubbles can grow larger and cause tissue damage. That is why conservative profiles are so critical.
Symptoms of DCS at altitude are similar to sea-level DCS: joint pain, skin mottling, neurological changes, and respiratory issues. However, the onset can be delayed because the lower pressure slows bubble resolution. You might feel fine after the dive and develop symptoms hours later, especially if you drive to a higher elevation.
First aid in a remote mountain environment is challenging. If you suspect DCS:
- Administer 100% oxygen immediately. A portable oxygen kit is a sensible addition to your emergency gear for mountain dives.
- Do not ascend further. Stay at the lowest feasible altitude.
- Hydrate with non-caffeinated, non-alcoholic fluids.
- Evacuate to the nearest medical facility with a recompression chamber.
Oxygen is not a cure, but it buys time. Every minute of delayed oxygen reduces the chance of full recovery. Plan your evacuation route before you dive. Know the nearest chamber and have a satellite phone or other reliable communication device. Cell service is often absent in mountain areas.
[IMAGE_3]
Post-Dive Safety: Travel and Flying After Altitude Diving
Post-dive travel logistics are often overlooked. Here is the rule of thumb: after an altitude dive, you need more time before gaining further altitude or flying than you would after a sea-level dive.
The standard recommendation after a single no-decompression dive at sea level is a 12-hour surface interval before flying. After an altitude dive, extend that to at least 24 hours. For repetitive dives or dives near the no-decompression limit, I recommend 48 hours.
Driving is also a concern. If you are in a mountainous area and need to drive over a pass that is higher than your dive lake, wait. If the pass is 4,000 meters and your lake was at 3,000 meters, you are effectively gaining another 1,000 meters of elevation. That sudden pressure drop can trigger DCS. Plan your itinerary so that you descend after diving, not ascend.
A simple rule: after your last dive, sleep at the same or lower altitude. If you must ascend, do it the next day after a full night’s rest and adequate hydration.
Altitude Diving Tables vs. Dive Computers: Which Is Safer?
Both have their place, and each has tradeoffs.
Altitude-corrected tables (such as those based on Workman’s or Buhlmann’s models with altitude adjustments) are reliable if used correctly. They are static, so they do not account for multi-level diving profiles or real-time nitrogen buildup. They require you to plan the entire dive before entering the water. For straightforward, single-depth dives, tables are fine. They also do not need batteries, which is a real advantage in cold environments where batteries drain faster.
Dive computers with altitude mode are dynamic. They track your depth in real time and adjust the algorithm as conditions change. This is safer for multi-level dives, which most recreational dives are. The risk is that the computer malfunctions, the battery dies, or you forget to set it to altitude mode. A computer is only as good as its settings.
For most divers, a modern dive computer set correctly is safer than tables. It accounts for changing conditions and provides a more personalized decompression calculation. However, I recommend having a backup plan. Carry printed altitude-corrected tables for your planned depth and time. If your computer fails, you have a reference.
For beginners, I suggest starting with tables to understand the concepts, then transitioning to a computer. For experienced divers, the computer is the primary tool, but tables are a valuable backup. There is no single “safer” option â both are safe if used correctly. The unsafe option is using either without understanding the altitude adjustment needed.
Final Checklist: Quick Reference for Your High-Elevation Dive
Before you splash, run through this checklist:
- Pre-trip medical consult with a dive medicine specialist (ideally 4-6 weeks before travel).
- Altitude-set dive computer verified to work at your lake’s elevation.
- Conservative gas management: planned depth, time, and gas mix.
- Shallow max depth: 20-25 meters is a practical limit.
- Adequate post-dive surface intervals: 2-3 hours minimum.
- Post-dive travel plan: avoid immediate ascent or flying for 24-48 hours.
- Emergency plan: nearest chamber, oxygen, satellite phone, evacuation route.
Print this list and keep it with your gear. It only takes one missed step to turn a beautiful mountain lake dive into a medical emergency.
FAQs About Altitude Diving Safety
Can I dive at altitude with a standard dive computer?
Not safely. A standard computer assumes sea-level surface pressure. It will give you incorrect no-decompression limits. Only use a computer with a specific altitude mode or altitude adjustment capability.
How long should I wait to fly after altitude diving?
A minimum of 24 hours after a single no-decompression dive. After repetitive dives or dives near the no-decompression limit, wait 48 hours. These are more conservative than the standard sea-level recommendations for good reason.
What is the safest altitude to dive?
There is no single “safest” altitude, but generally, dives above 3,000 meters (10,000 feet) require significant adjustments. Below 1,000 meters (3,300 feet), the changes are minor but still relevant. The safest approach is to always apply altitude correction procedures regardless of the elevation.